The countdown is a timer you can add to your page if you want to count down towards a specific moment. For example the ending of a sale, introduction of a product, etc.
When clicking on the countdown you get the options to change the color and the end date.
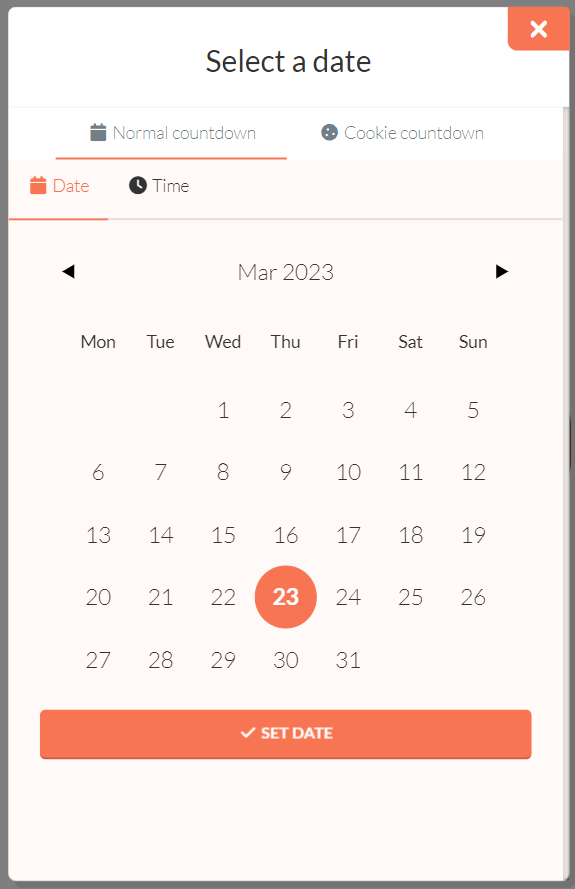
By clicking on the calendar icon you are able to change the timer. When you click the calendar icon it brings you towards the following menu:
Here you can change the exact date and time when you want your countdown to end. Besides, there is the possibility to add a cookie countdown. A cookie countdown can be added when someone visits your landing page for the first time. When the visitor leaves your landing page the countdown keeps on running until it ends. When a different person visits your landing page for the first time the countdown will start from the beginning again. Just like the first visitor. Check this example for a more visual explanation:
Person 1 visits your landing page on January 1st.::
Person 1 comes back at your landing page on January 3rd.:
Person 2 visits your landing page on January 6th.:
Everyone who visits your landing page will get their "own" countdown. You can add a cookie countdown by clicking cookie countdown, next to normal countdown.
Please note that the buttons will become inactive after timer ends.
With this icon, you can drag your countdown element inside your section.
With the duplicate icon, you are able to copy your countdown inside your section. By clicking the trash icon you are able to delete your countdown.


